If you’re considering installing solar panels on your home, one of the top questions that may arise is how long it takes to get the system installed after signing a contract. Anyone who has gone solar can tell you this process involves a number of critical steps, each of which plays an essential role in making sure you get the perfect solar system to meet your energy needs. In this article, we’ll walk you through the entire solar installation process, so you know exactly what it takes for your home to start producing clean energy.
Solar Project Timeline
The solar installation process involves many different organizations which include government, city, HOA and utility companies. The goal of a solar installer is to move the solar project through this process as efficiently as possible which can take anywhere from three to four months days but can take longer depending on the complexity of the project and the involvement of third party organizations. Because of the involvement of so many representatives and agents from outside organizations, it is impossible to give a 100% accurate timetable, but a good solar installer will streamline this process for you to ensure the installation is completed as quickly, professionally, and efficiently as possible. And depending on the city where you live, your solar installation timeline may vary from others by several weeks. Here are some benchmarks that will give you a good idea of what to expect from the solar installation process.
- Site survey: The first phase of any residential solar installation is the site survey, also known as the “site assessment”. Once your solar contract has been executed, a technician will visit your home to understand its characteristics and make sure your home is compatible with solar. The roof of your house will be one of the major places the surveyor will take measurements, evaluate structural integrity, and collect readings on sunlight availability and shading. The surveyor will also assess the roof’s structure to make sure it’s able to support the addition of solar panels without compromising its structural integrity. South-facing roofs are usually the best for solar as they will get the most sunlight, but depending on your utility rate schedule, east or west-facing rooftops can sometimes produce the most value for homeowners. To complete this task, the engineer will use a tool known as a “Solar Pathfinder,” which calculates exactly how much sunlight your solar system will capture. Also know, certain credit or rebate programs will require this step as proof that the solar system meets minimum efficiency requirements.The technician will also assess your home’s electrical panel to determine if the solar panels can connect to your home’s electrical system. If the electrical panel is of older age or you’ve recently made some improvements to your home that increased the number of electrical connections, an upgraded electric panel may be required to accommodate the inflow of solar energy.
- Solar system design & engineering: After your site survey, your solar company will start the design process and engineer a system for your home that meets your energy needs along with city rules and regulations. Once this process is complete, your solar company will apply for the necessary permits to move your project to the next phase.
- Local permitting and inspection processes: To install solar panels, you’ll need to apply for permits from your local government, which is a process your solar company will handle. You may also need approval from your HOA which may comprise of the design and layout of your system. Also, be sure to ask about any paperwork you’ll need for any government incentives, such as the federal solar investment tax credit (ITC), along with any local and state incentives you might qualify for.
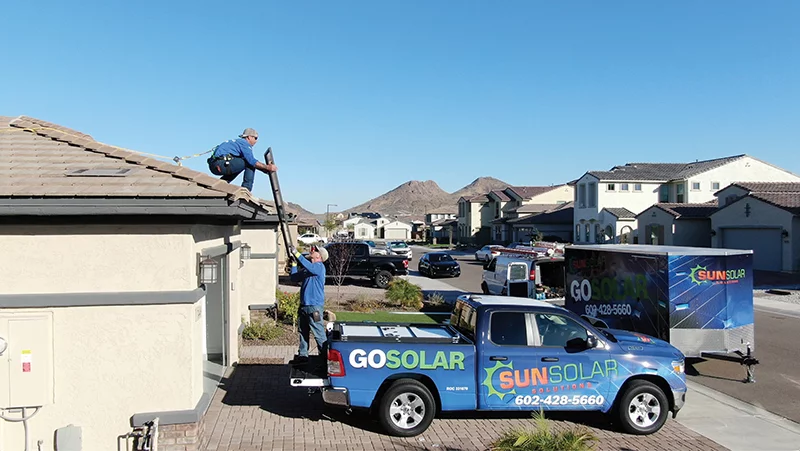
- Installation: Congratulations! Your solar permit application was approved, and you are ready to install your solar panels. Depending on how many panels you’re installing and the complexity of the design, most solar companies can install a rooftop solar system in one to three days. Be sure to ask your solar installer what this timeframe looks like. The installation process requires setting up mounting structures, cables, inverters, panels, and other small components, as previously discussed.
- Inspection: After the installation of your solar system is completed, it must be approved by your utility company and city inspector. A local inspector will visit the site to ensure all the guidelines are obeyed and give approval that everything was installed correctly and meets local regulations. Once approved and the inspector gives the green light, your new solar system is officially ready to be connected to the grid.
- Grid connection: Following the local inspection, you will be ready to connect your solar system to the grid. A representative from your electric company will visit your home to do their own evaluation and install a meter, and as long as there are no glaring issues, you will be given permission to operate (PTO) and start generating clean, renewable energy.
Ready to learn more about the solar installation process?
Ultimately, your circumstances are going to be unique, so it is best to weigh your options and your requirements as to the best route to take. Solar is readily available and easy to have installed once you’ve chosen a solar installation company to work with. And before you know it, you’ll be saving money on your electric bill in no time!
Call the professionals at SUNSOLAR SOLUTIONS at 602-773-6675 to discuss your options and see what would work best for you and your family!


